I’m sure almost everyone out there already knows this, but it’s something I just recently discovered…
I wanted to make a App preview video for the Candy Bubble Drop update to submit to Apple along with the archive. Did some searching and found a few options to record from an iOS device, but they required me to spend money – let’s face it, that was the last option.
Then I thought it would be better to record directly from the Unity player window, set to the correct resolution, and if I did it on a PC, then I could use FRAPS which I already owned. A few minutes later and I had the game running on my PC inside Unity with a large player window that mimicked iPad resoultion. FRAPS was activated and I was able to capture gameplay video, with the bonus of being still in the editor, so I could jump around between levels a lot easier.
From there, I moved the video clips back to my Mac and opened them in Handbrake. Handbrake Mac has a live preview window and as I needed to trim the recordings to just the iPad size (there were some window decorations, and I made the window a little wider/taller to make sure I had the right rez). Handbrake Mac allowed me to adjust the trim values and see what I was going to get – nice right?
I exported the videos as .mp4 files and then imported them all into iMovie. iMovie now has an ‘App Preview’ project window, which allowed me to stitch the videos together and output a MP4 suitable for upload to the App Store.
This is then where I ran into a bit of a hurdle. The App Store will let you upload a demo video for each device size, actually it requires it. If you only upload an iPad sized video, then only people previewing your app on the iPad will see the video, you need to upload videos specifically for the iPhone 5, iPhone 6 & iPhone 6s – each of which has their own video size. Eeek!
For iPhone 6s I needed a video resolution of 1080×1920 (my app is portrait), but I couldn’t get the Unity window that large. For iPhone 6 it needed to be 750×1334, while for iPhone 5 I needed 640×1136. It turns out these are all the same aspect ratio, so I came up with a plan to record the iPhone 6 video with my PC monitor rotated 90 degrees. That would let me use an editor window larger than 750×1334 (my monitor is 1920×1200 in landscape) which I could then trim to the correct size with Handbrake.
Once I’d completed that, I was able to use the ‘App Preview’ movie template in iMovie and create the video. At this point I was pleasantly surprised to discover that iMovie rendered my output as 1080×1920, the size I needed for iPhone 6s. I had planned to use FFMPEG to upscale the movie, but that wasn’t needed. From there, it was simple to use Handbrake to resize this high-rez movie down to the other two required formats.
But, here’s the kicker. When hunting for App Preview guidelines/restrictions I found a nugget buried in the documents that Quicktime could use your iOS device as a video/audio source, as long as it was connected to the Mac with a lightning cable. This was an awesome discovery, now I could play the game directly on my iPhone 6 and my iPad and record the entire session with audio. This would save a ton of time as I didnt need to crop the videos or re-encode from the PC Avi format to MP4. If only I’d known sooner…
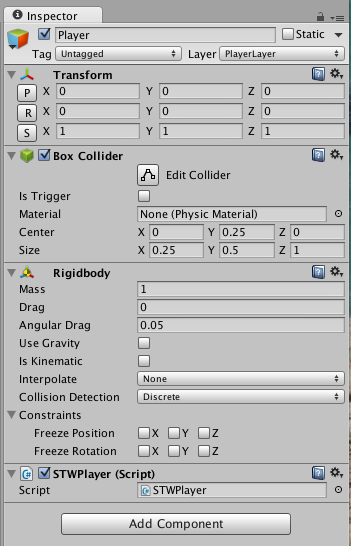
 Thanks to Diego Wasser for pointing out the error I made in my use of Colliders in Unity3D. He’s 100% correct – if you have a collider attached to a GameObject that is moving you should also attach a rigid body to the same GameObject. In my case, I was moving a parent object that held a bunch of smaller objects, each of which had a collider attached. I went back and added a rigid body to each of those smaller objects as recommended in the post linked by Diego. I also marked them as kinematic, as I don’t need physics (gravity etc), just collisions.
